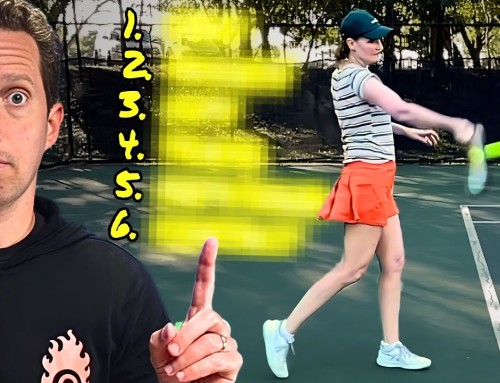
Training forehand wrist lag is the only reliable way to feel the smooth, effortless whip that every pro forehand has.
Last lesson, I showed you the hidden power source in every pro forehand.
It’s the dynamic stretch and release of the wrist, forearm, and hand that whips the racket through the ball.
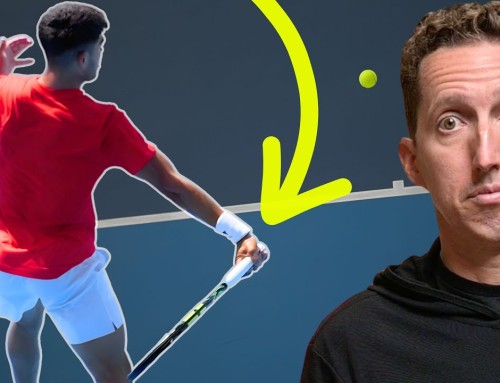
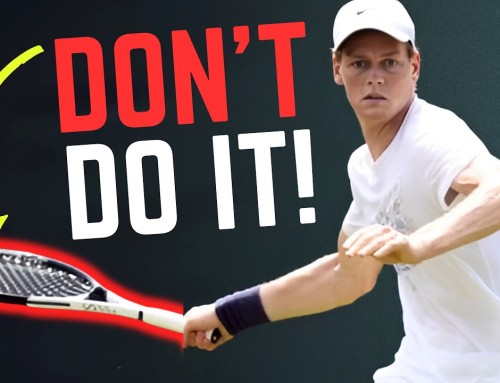
Pros show a clear angle between the racket and the forearm.
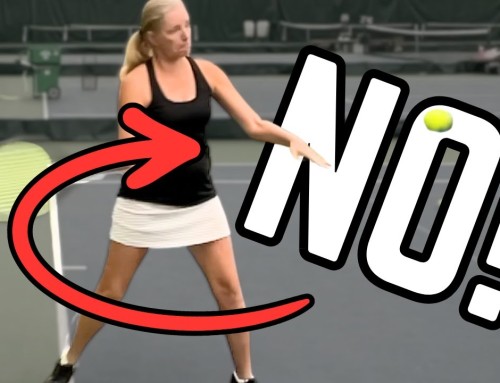
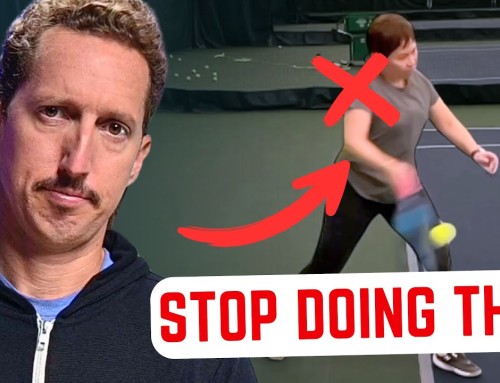
Most competitive adult players show no stretch and no release, and that angle never changes.
Knowing about this stretch doesn’t mean you’ll magically do it.
Even trying it guarantees nothing.
The only way to transform your forehand is focused, deliberate training with effective drills.
So here are all five steps to finally feel it for yourself.
Step one: fix your kinetic chain.
Kinetic chain is a fancy term for how your body works together to produce force through the racket and into the ball.
Most players have a very arm-dominant forehand, and that’s completely incompatible with a dynamic stretch and release.
Remember the bullwhip from last time?
Imagine your torso as the thick handle of the whip, the part that starts the circular flow of energy.
If the handle never starts that wave, the rest of the whip can’t build force or crack at the end.
So if your body isn’t leading the swing and your arm is doing too much, don’t bother with the remaining steps yet.
Fix that first.
The pros create this angle through a passive stretch and release of the hand, not an active, forceful move back and forth.
If your arm is overactive, the only way to create the angle is by forcing it.
That isn’t smooth or efficient, and over time it can lead to injury and pain.
Not sure if your chain is correct?
Record yourself from the side.
For my student, at contact his chest and hips were both facing forward as he met the ball.
That’s what you want to see.
If you need help fixing it, check the pinned comment on the video for a free step-by-step lesson on the kinetic chain.
I only worked on steps two through five with this student because he had already proven his kinetic chain was solid.
That’s where you need to start too.
Step two: relax your arm and shadow swing.
Relax everything from the shoulder down and shadow swing, focusing on creating the angle between your forearm and the racket handle.
Throughout the training, I had my student shake out his arms to loosen his shoulder, forearm, wrist, and hand.
Then he shadow swung with no ball.
With no ball, you’re free to focus purely on what your body feels like.
You aren’t worried about the ball’s direction, your timing, your footwork, or any of the other distractions.
That gives you the best chance of staying relaxed enough to create lag and snap for the first time.
Most players have never done this, so wipe the table clean and just feel the angle happen and release through contact.
People ask me all the time how to know if they’re too relaxed.
If you’re a competitive adult below 5.0, it’s virtually impossible.
Most players feel tennis through a body that’s far too tight.
Relax by 90 percent compared to what you’re used to, and it will feel wrong, sloppy, and erratic.
But that’s necessary to create a passive stretch.
If your body doesn’t lead and your arm isn’t fully relaxed, it won’t happen naturally.
Both must be true, or you’re stuck muscling the racket back and forth.
Step three: drop and hit without the ball traveling toward you.
Don’t roll your eyes at this one, and don’t skip it.
My student had just seen his forehand next to the pros, done shadow swings, and relaxed beautifully.
Then, on his first drop hits, he did his regular forehand.
The angle between his forearm and racket stayed constant from takeback through contact, so no stretch at all.
On shadows, though, the angle approached 90 degrees when his body led and his hand relaxed.
That 90-degree angle, with the body pulling forward and the arm loose, was our target.
Here’s the key warning.
Without progressive stepping stones, you have almost no shot at making this happen.
If you get excited, jump into live rallies, and expect lag and snap to appear, it won’t.
This was a good, experienced athlete, and he could do it on shadows with no problem.
When I first showed him the drop hits, I told him he wasn’t doing it with the ball there.
After several rounds of showing him what to do, what he was doing, and what to focus on, he created the big angle, pulled around with his body, and released through contact.
So don’t skip the shadows, the arm shake-out, or the self-drop.
You don’t need a ball machine, a coach, or a practice partner.
The first half of this training is entirely solo.
Watch a few drop hits and keep your eyes on the forearm and racket.
Then he got it, stored the energy, and released it through contact.
Huge kudos to him, because this takes enormous concentration on one thing.
His old habit was so different.
Step four: feed from across the net.
Now I fed the ball from the other side, aiming for his strike zone.
It was still easy, but he now had to time the movement.
His shadow swings showed a clear angle.
Then the ball came, he got stiff, and the angle disappeared.
This was his first attempt with a ball traveling toward him, which is far harder than shadows or drops.
He suddenly had timing, positioning, and footwork all competing with the lag and release.
We kept at it, and the angle slowly started appearing.
That’s the process.
It takes time, repetition, and exposure to different layers of challenge.
Improvement isn’t watching a video, having an epiphany, and showing up with a brand new forehand.
Real life is poking, experimenting, exaggerating, and fighting the friction of your old habit with baby steps.
One of his last feeds hit the 90-degree marker and released smoothly through contact, which was exactly the goal at this level.
Step five: live rally.
The final step took place during a week-long coaching trip in Hawaii, where we did half-hour private sessions each afternoon.
By the end, we were in a live rally.
Some swings reverted to his old forehand, especially when I pushed him back or fed outside his strike zone.
But many hit that 90-degree angle and released it smoothly.
That’s how improvement works: baby steps, layered challenge, and a narrow focus on one thing instead of shiny objects.
Follow these same five steps, protect your focus as strictly as I protected his, and you’ll see huge improvements.
That’s especially true if you’re moving from no kinetic chain to a working one, and then learning passive storage and release.
If you need help with the first step, use the free kinetic chain lesson from the pinned comment, then circle back to these steps in order.
Keep up the great work on your game, and I’m excited to hear about your improvements.
Take care.
Your Coach,
-Ian